Implement App/Universal Link on Flutter
Part 1: Initialise Web Hosting and Flutter Project


Deep Link vs App/Universal Link
Deep link is a link to open an app instead of a web page in browser. Since an app is specifically for a certain platform, to brings up a better user experience, it is common for certain web content to brings up installed app. By my observation, people talking about deep link is referring the one using custom schema, for example, my-app://. In fact, app/universal link is one kind of deep link, but using the http:// or https:// schema. The app link and universal link is referring the same thing. In android, this is called App Link while in IOS, this is called universal link. This article is mainly talking about the implementation of app/universal link to bring up the app.
What is the difference on the implementations? The main difference is that most of the platform app/universal links requires special config on both specific platform and website while deep link doesn’t. The main goal is to enhance the security of a normal website will not be highjacked by an unknown app from other party.
This part 1 is creating the flutter project and example web project with firebase hosting for later on usage on each platform.
The part 2 is implementing Android project settings.
The part 3 is implementing IOS project settings.
[TBC]The part 4 is implementing Mac App project settings.
Web Firebase Hosting Setup
In this article, the firebase hosting will be used for hosting the testing website. You may use your own platform or server to host the web.
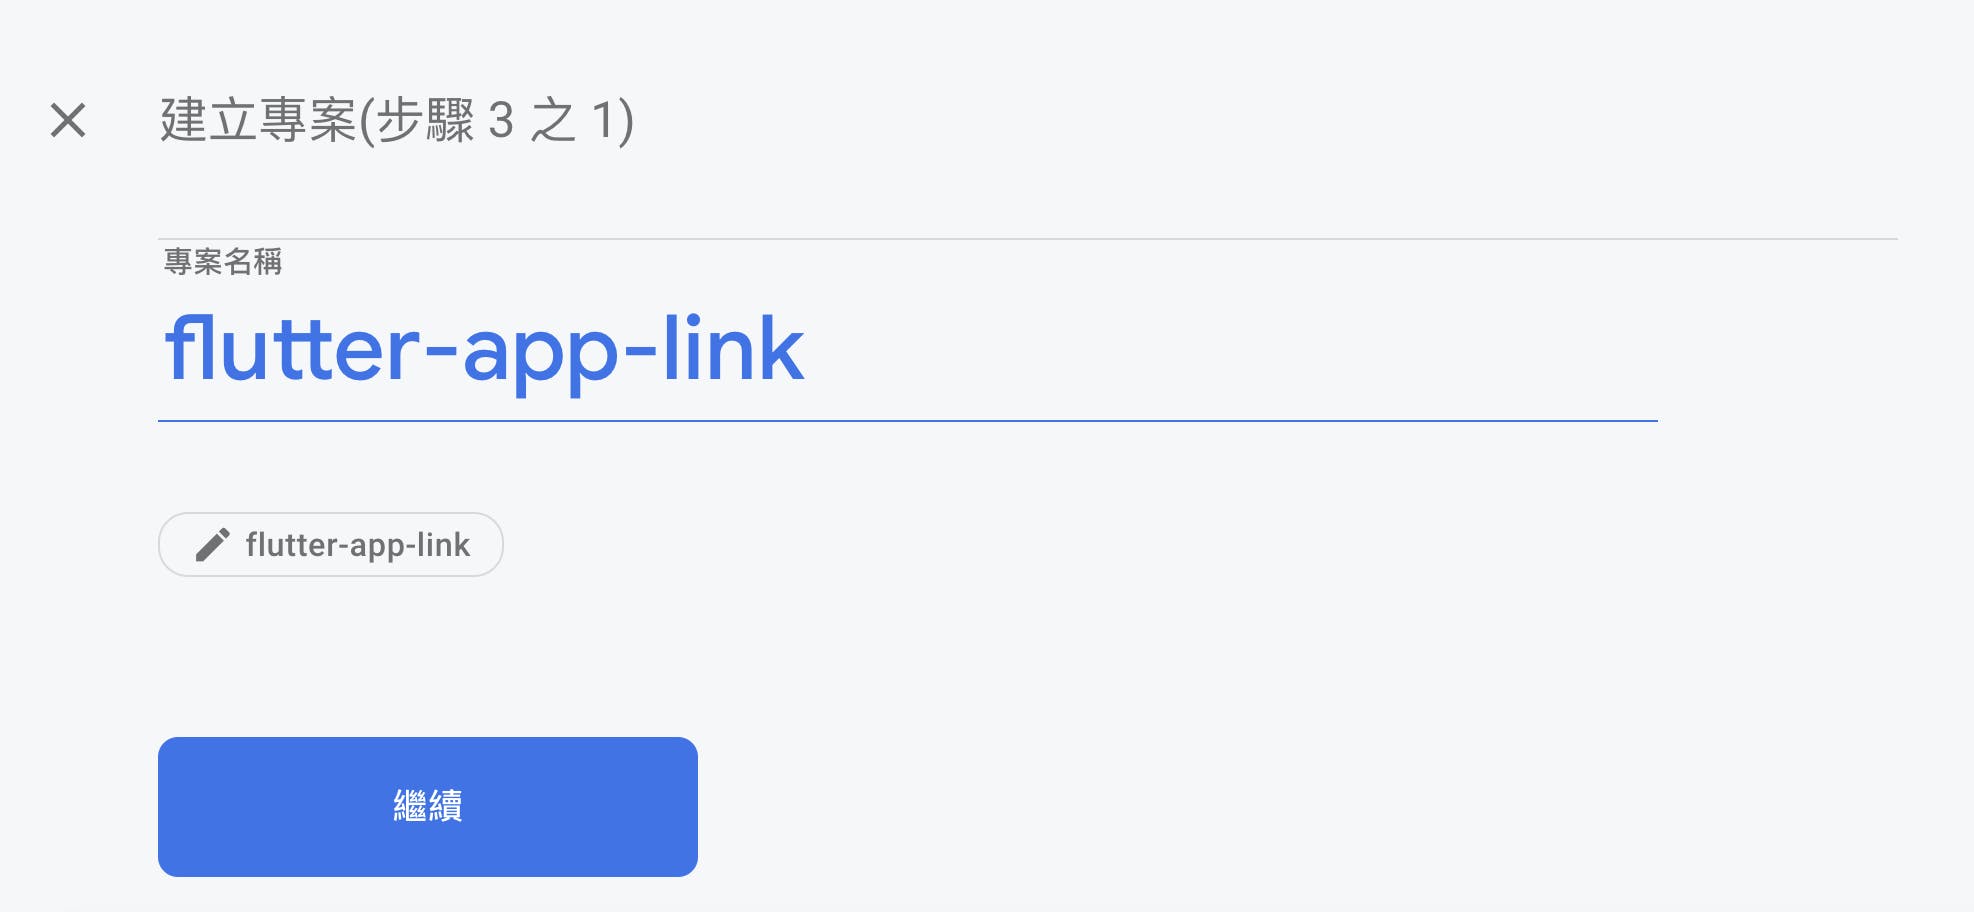
Create Firebase Project
Let’s create a project call flutter-app-link.
After everything settled, we will goto the hosting session and get started.

Then you will see the guideline of web firebase initialisation.
Create Simple Web Project
Create a folder and use VsCode to open it.
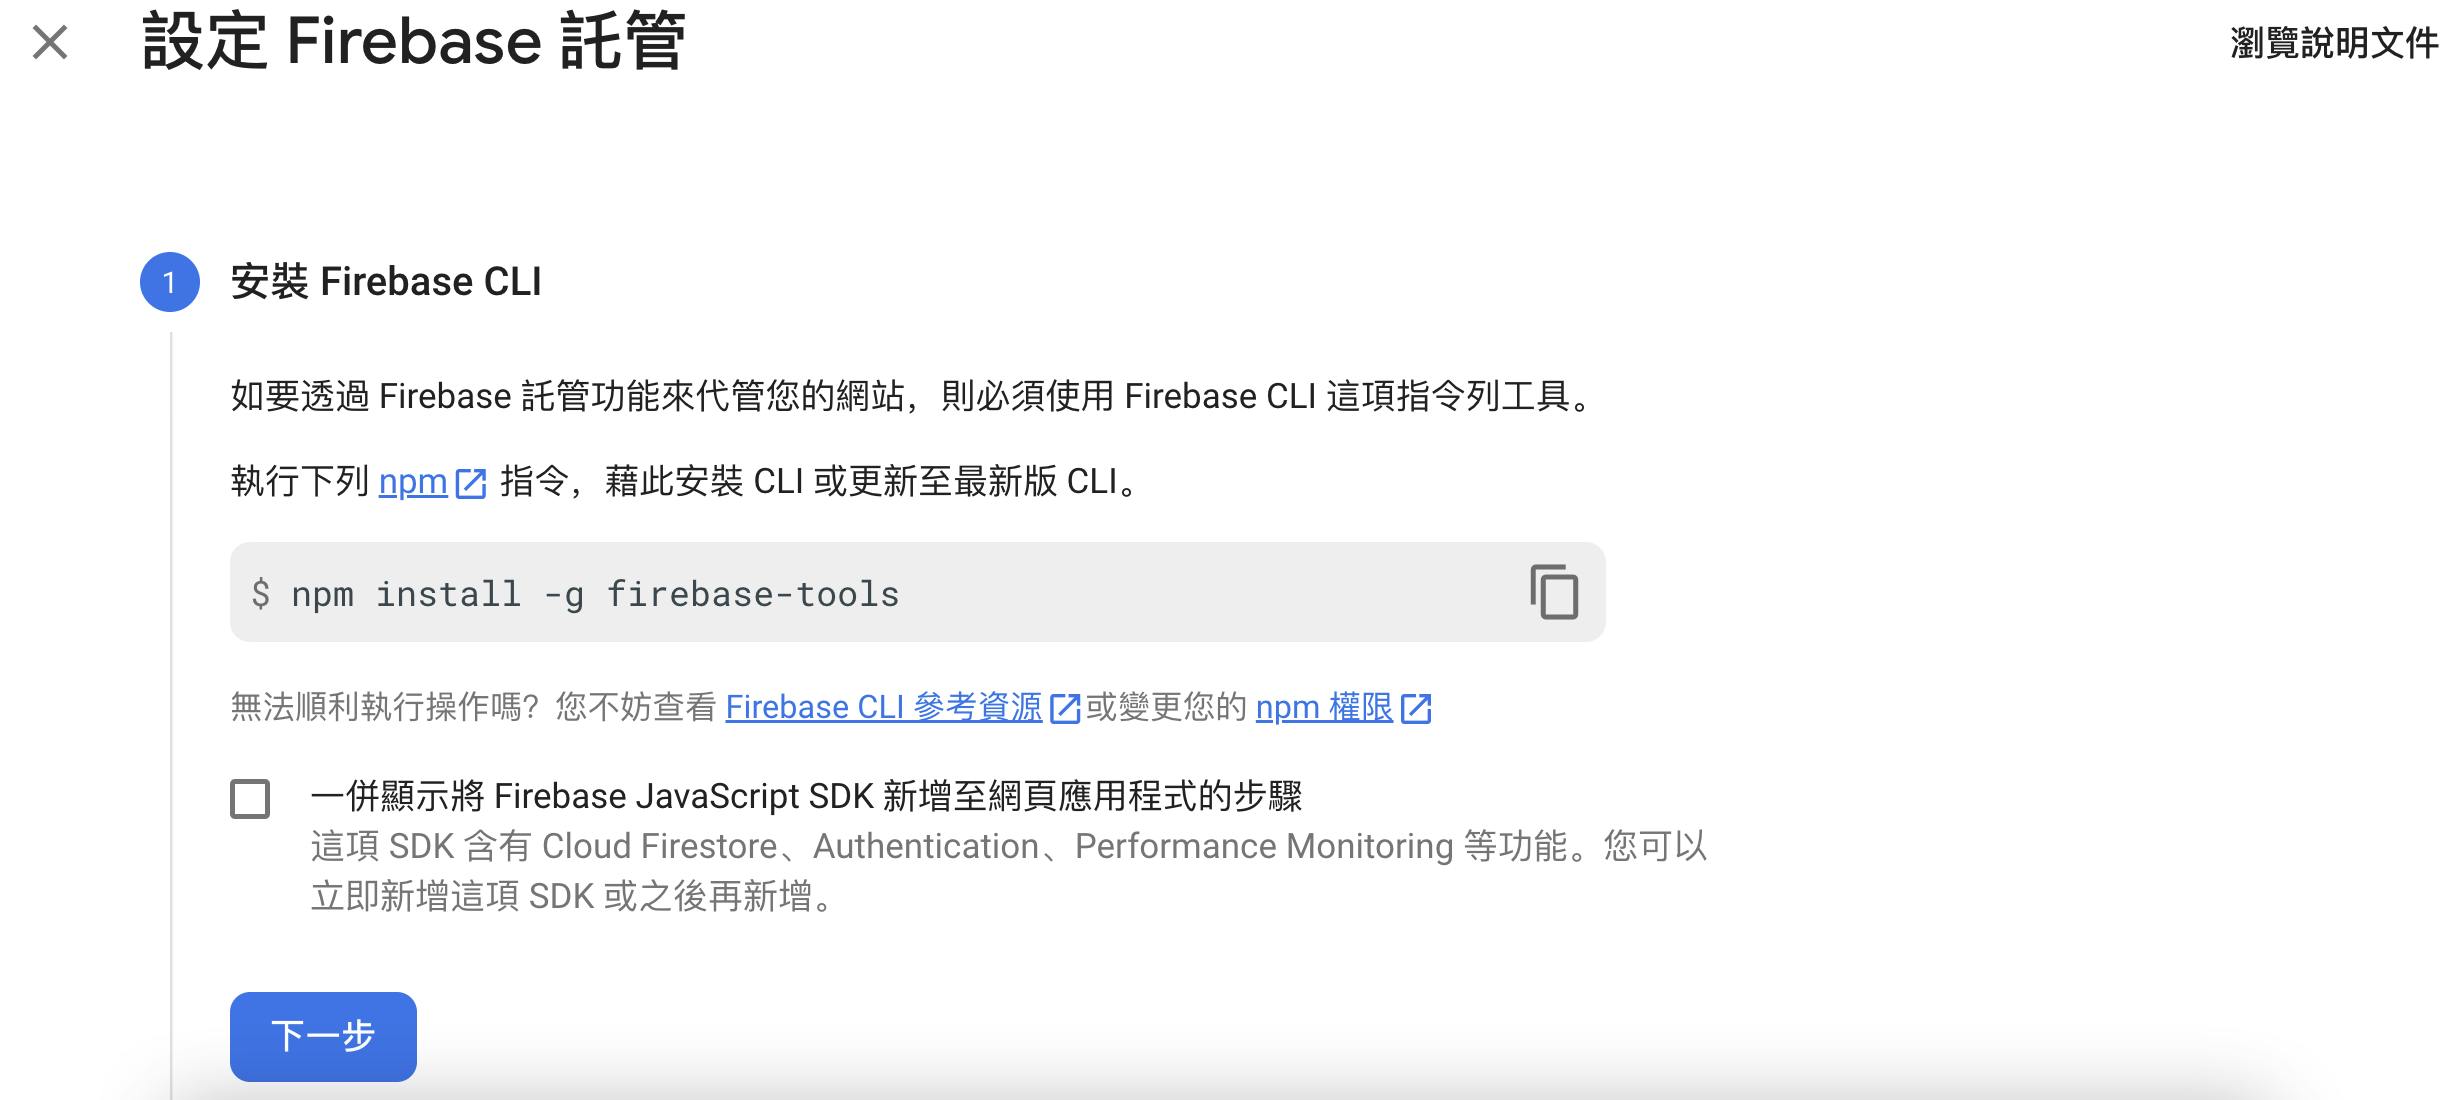
Install Firebase Cli
If you have not installed node.js yet, you may install it by node.js official website.
If you have not installed firebase cli previously, you may install it by npm install -g firebase-tools which will be used on setting up web project later.
When everything is done, we move to next step.
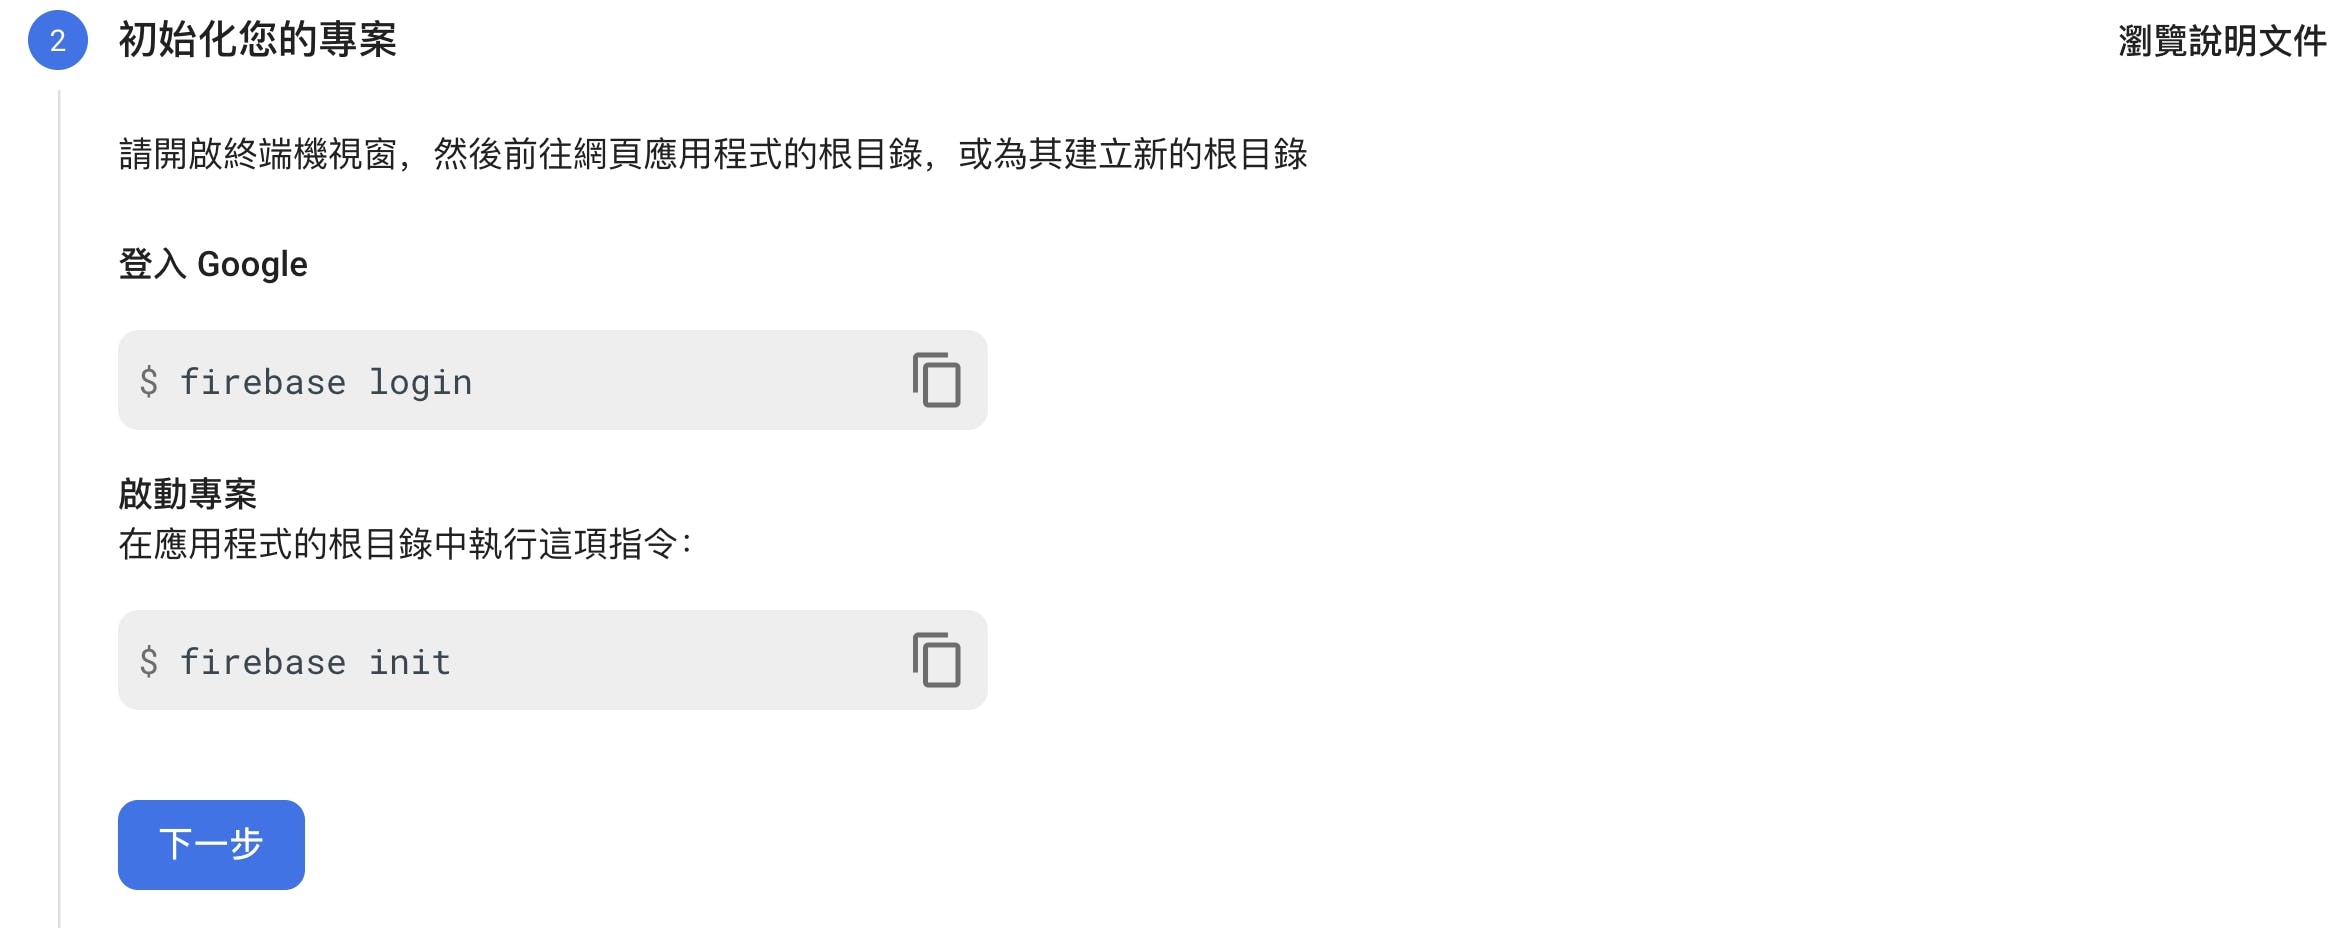
Initialise Firebase Hosting
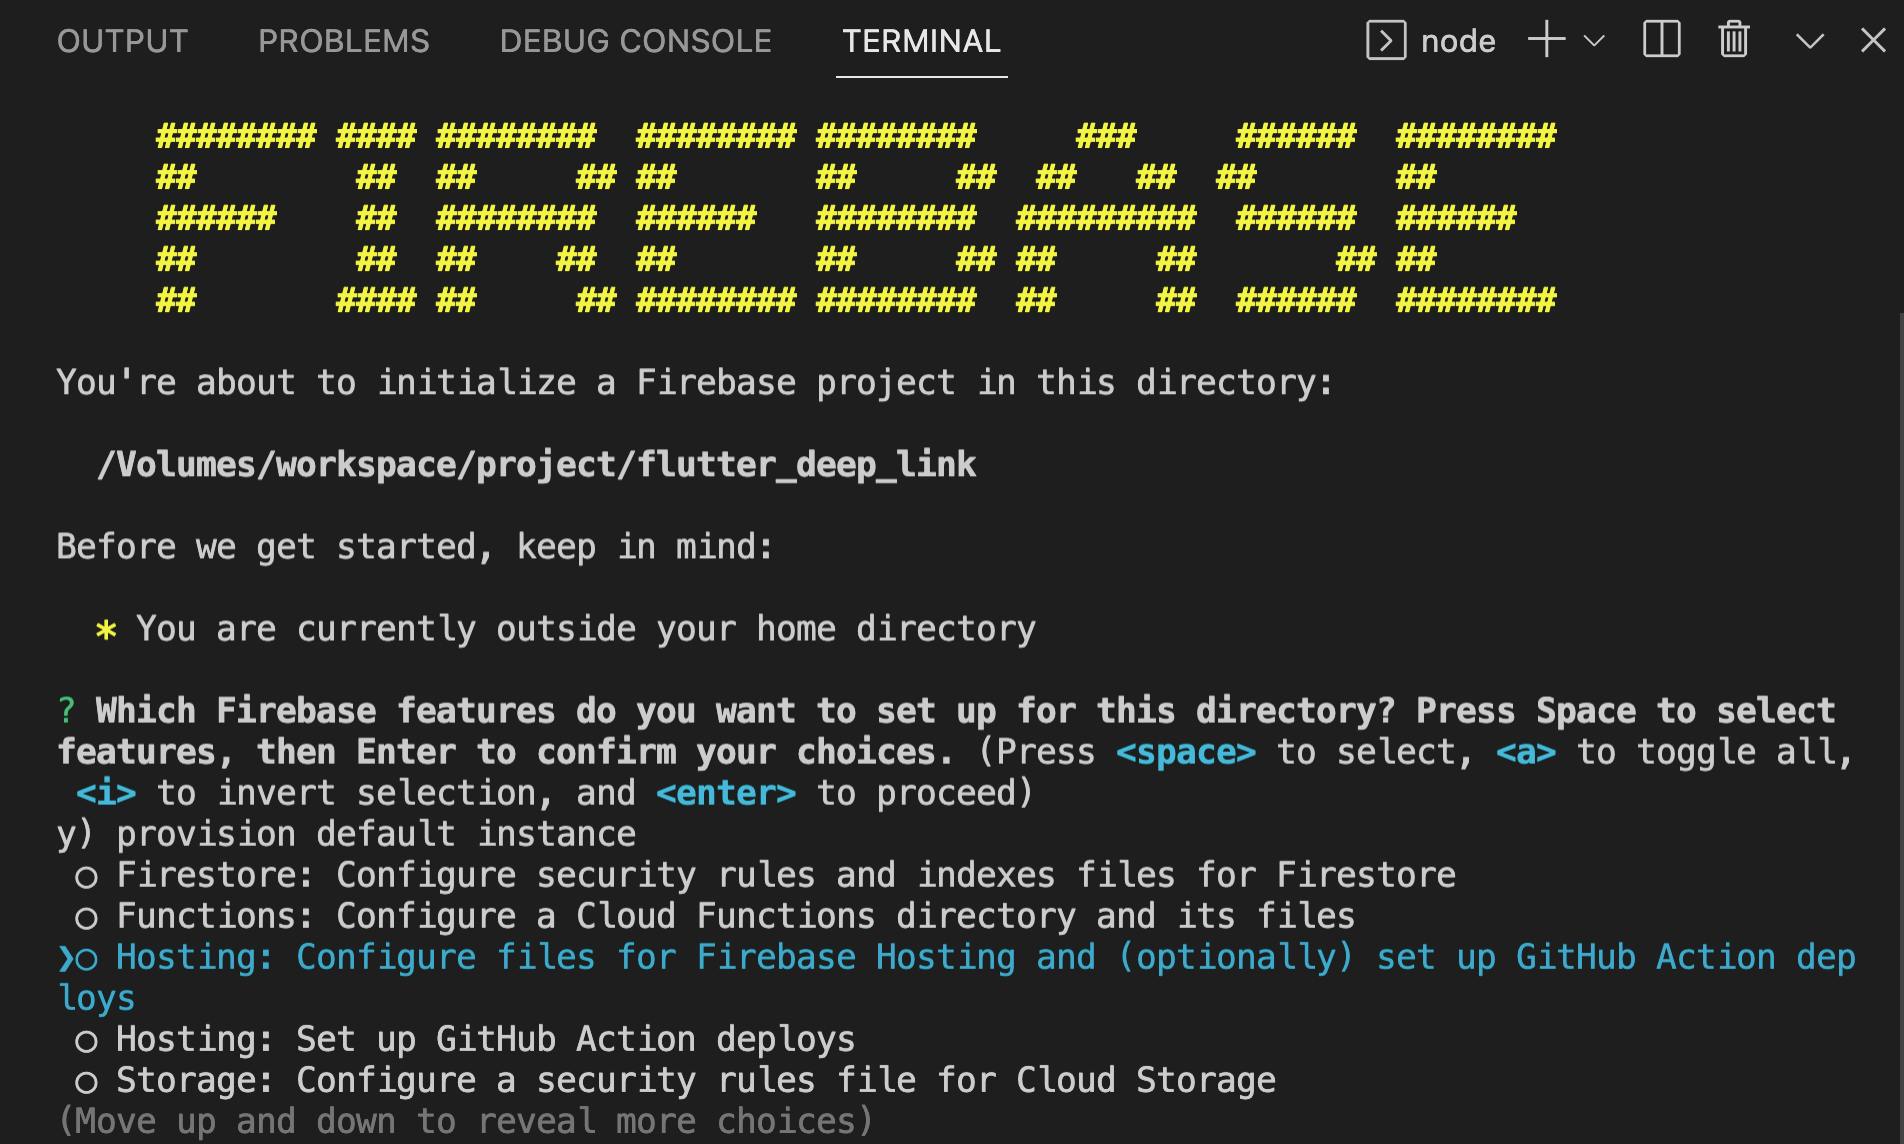
After login to the firebase cli, we call firebase init in the terminal.
You will see a lot of options for the firebase services. We will select the Hosting. Be aware the selection is based on space.
Since we have already created a firebase project, we will choose using the existing project.
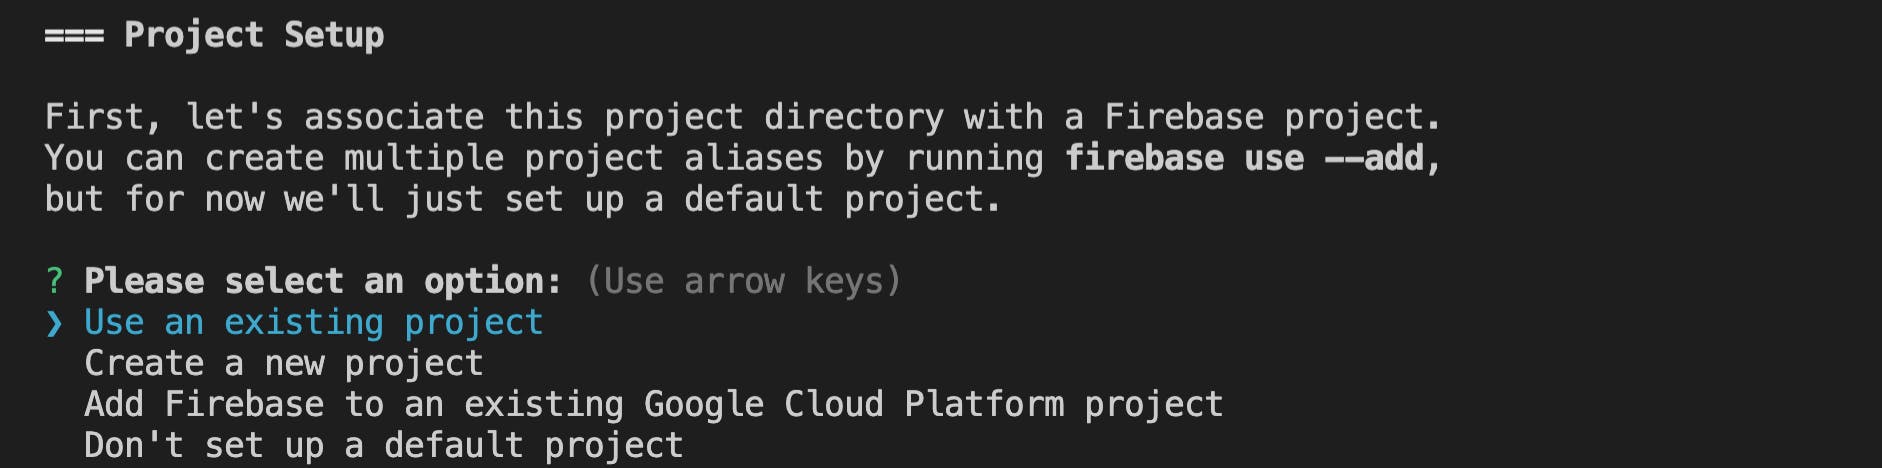
Select the flutter-app-link project.

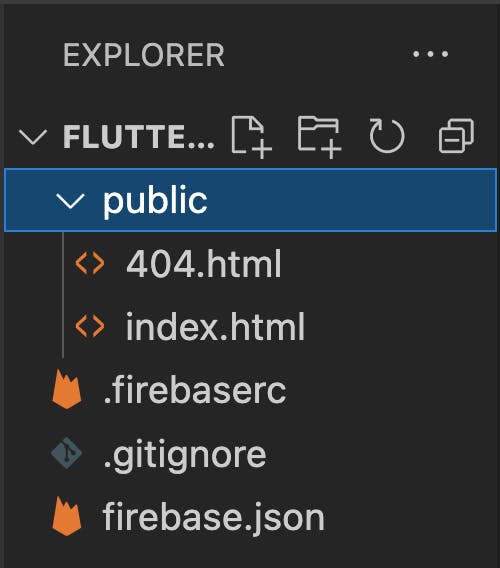
I will use the following setting for this example web project.


When the setup is finished, you will see the files generated.
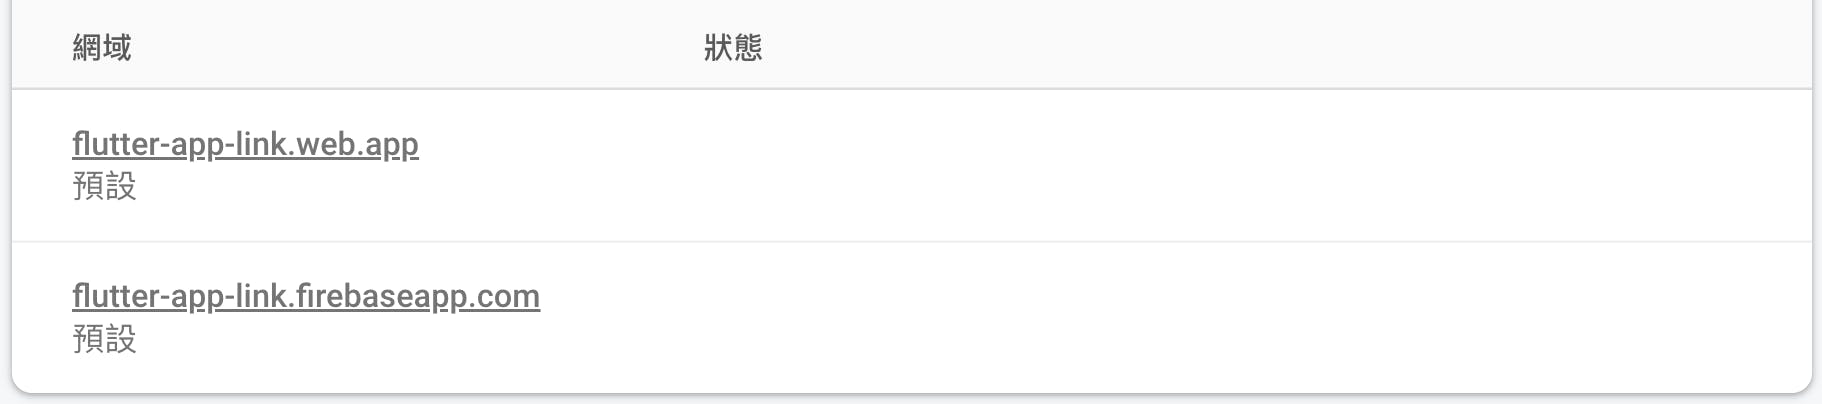
Deploy
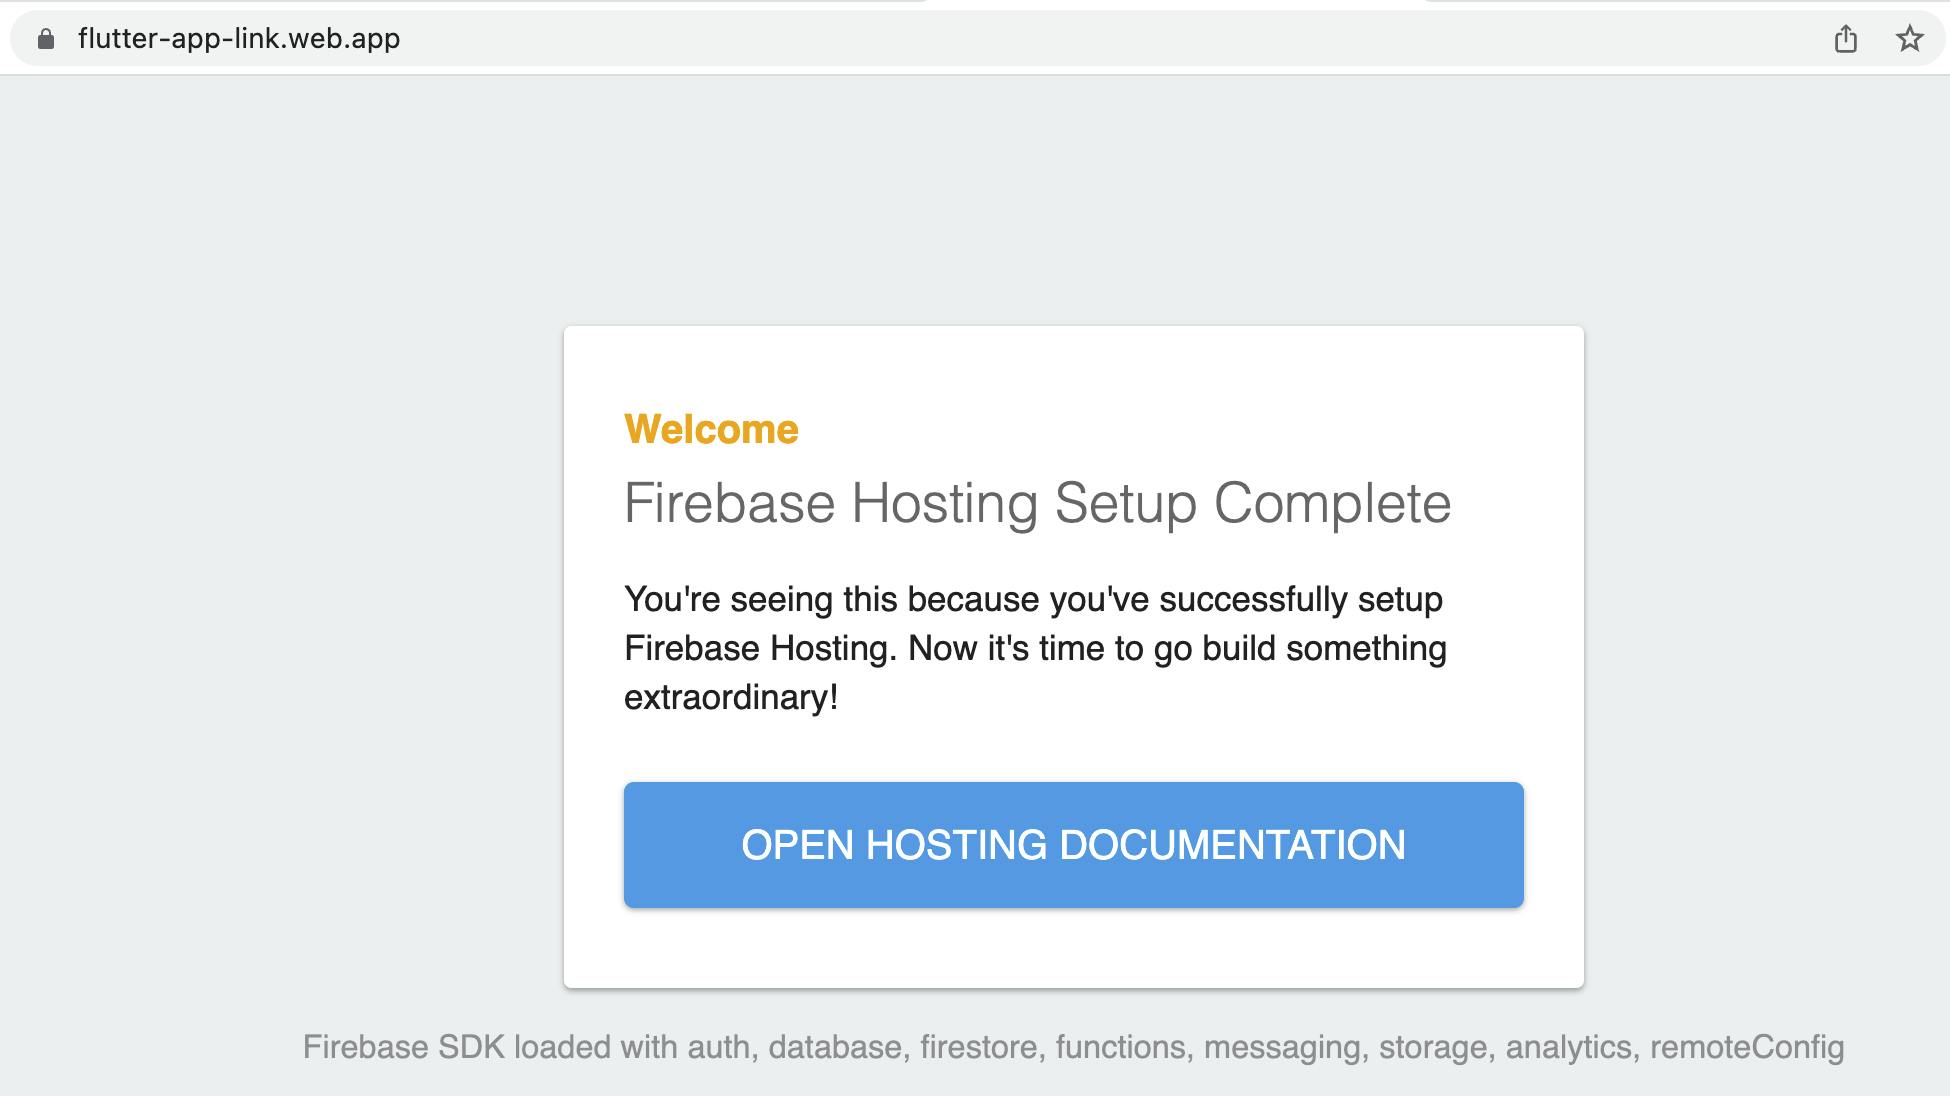
To deploy the web to firebase hosting, run firebase deploy. The web link can be found in the firebase portal Hosting session. The default link is {project-id}.web.app and `{project-id}.firebaseapp.com.
This is the generated index.html.
Create Flutter Project
Select another directory and create a flutter project called flutter_deep_link or any name you like.
flutter create flutter_deep_link