

Running a Strapi on AWS have many different way. This is a simple guide to play with the ECR and ECS service. Since different cases may have different setting, the following is only consider to use the lowest price and setup as possible to test the case and this setup is out of the free tier.
Setting up AWS ECR
Setup AWS CLI Config
Set IAM user access id and secret key (and default-region) to aws-cli by calling following command.
aws configure
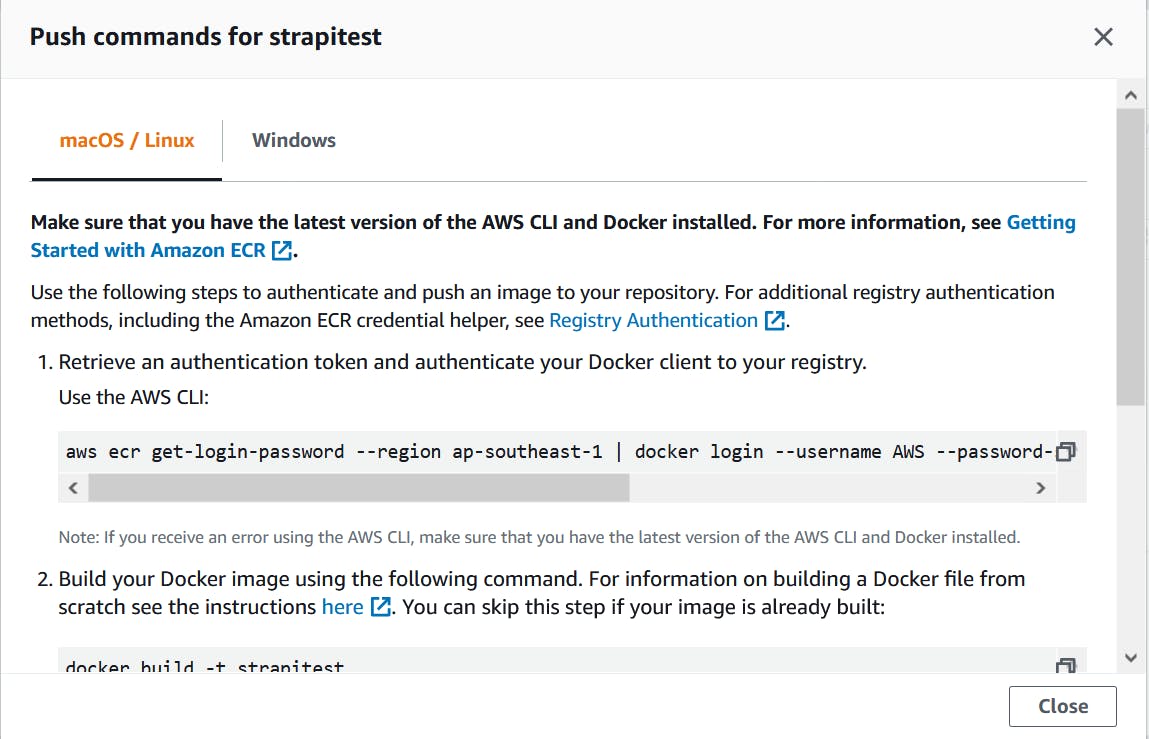
Goto ECR portal create a private or public repository. Click the repo you just created and see there is a "view push commands" button.
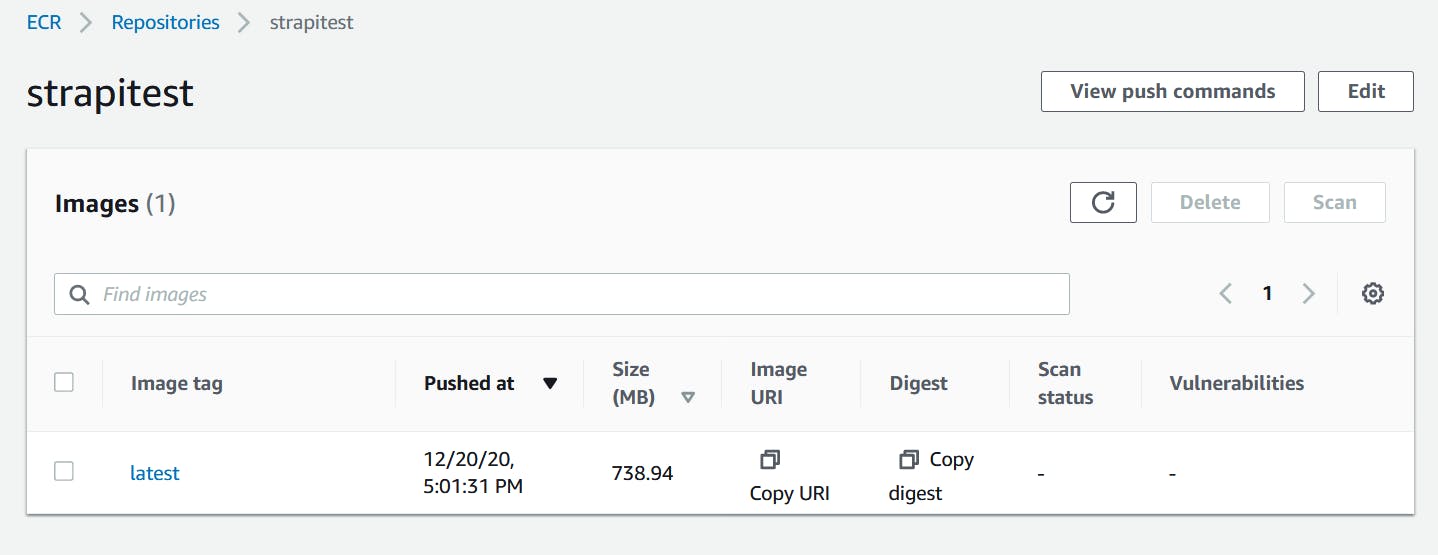
Following all the step, your images should be successfully uploaded.
Setting up AWS ECS
Create Cluster
- Select the EC2 Linux + Networking one
- Fill the
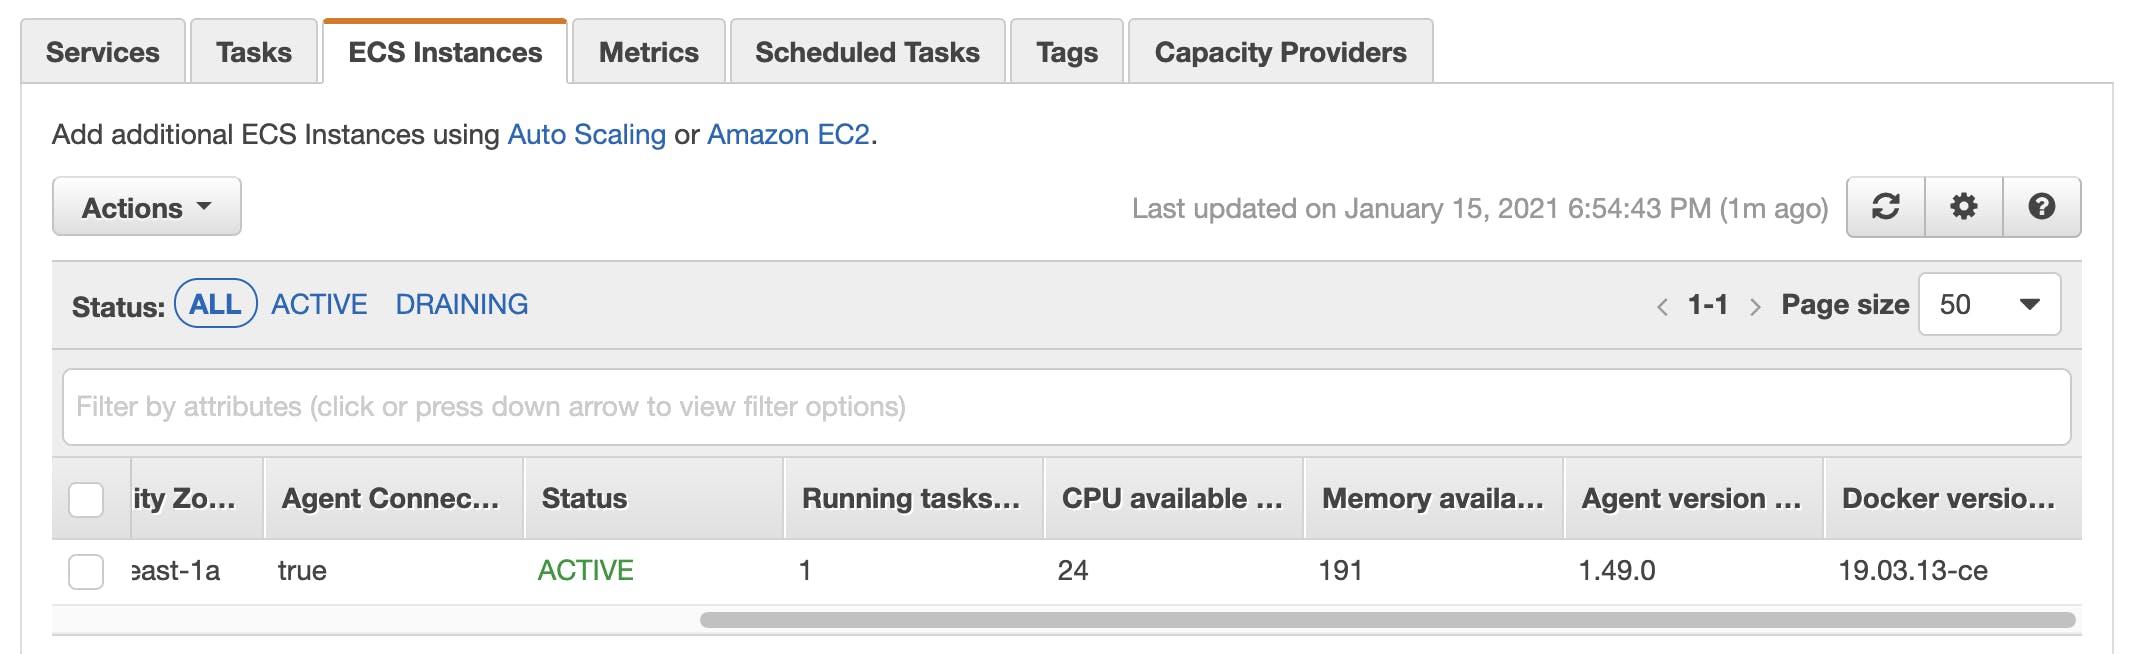
Cluster nameFill theEC2 instance typeby your needs Fill theNumber of instancesby your needs FillEC2 Ami Id, you may either use the recommended Amazon Linux 2 AMI which is ECS-optimised or create any instance and do the ECS config yourself. Setup the security group for which ports are allowed Choose the IAM role asecsInstanceRole, if you are not created it yet, you may leave it and ECS will automatically create it for you. Other setting based on your own load balancing setup, if nothing special you may proceed it. - After created the cluster, goto the cluster main page and click ECS Instances. You can check the CPU and memory resource your instance is actually have.
Create Task Definitions
- Select
EC2one - Fill
Task Definition NameGoto Task size, fill in theTask memoryandTask CPU. Please aware you can not exceed the available memory and CPU that you previously checked.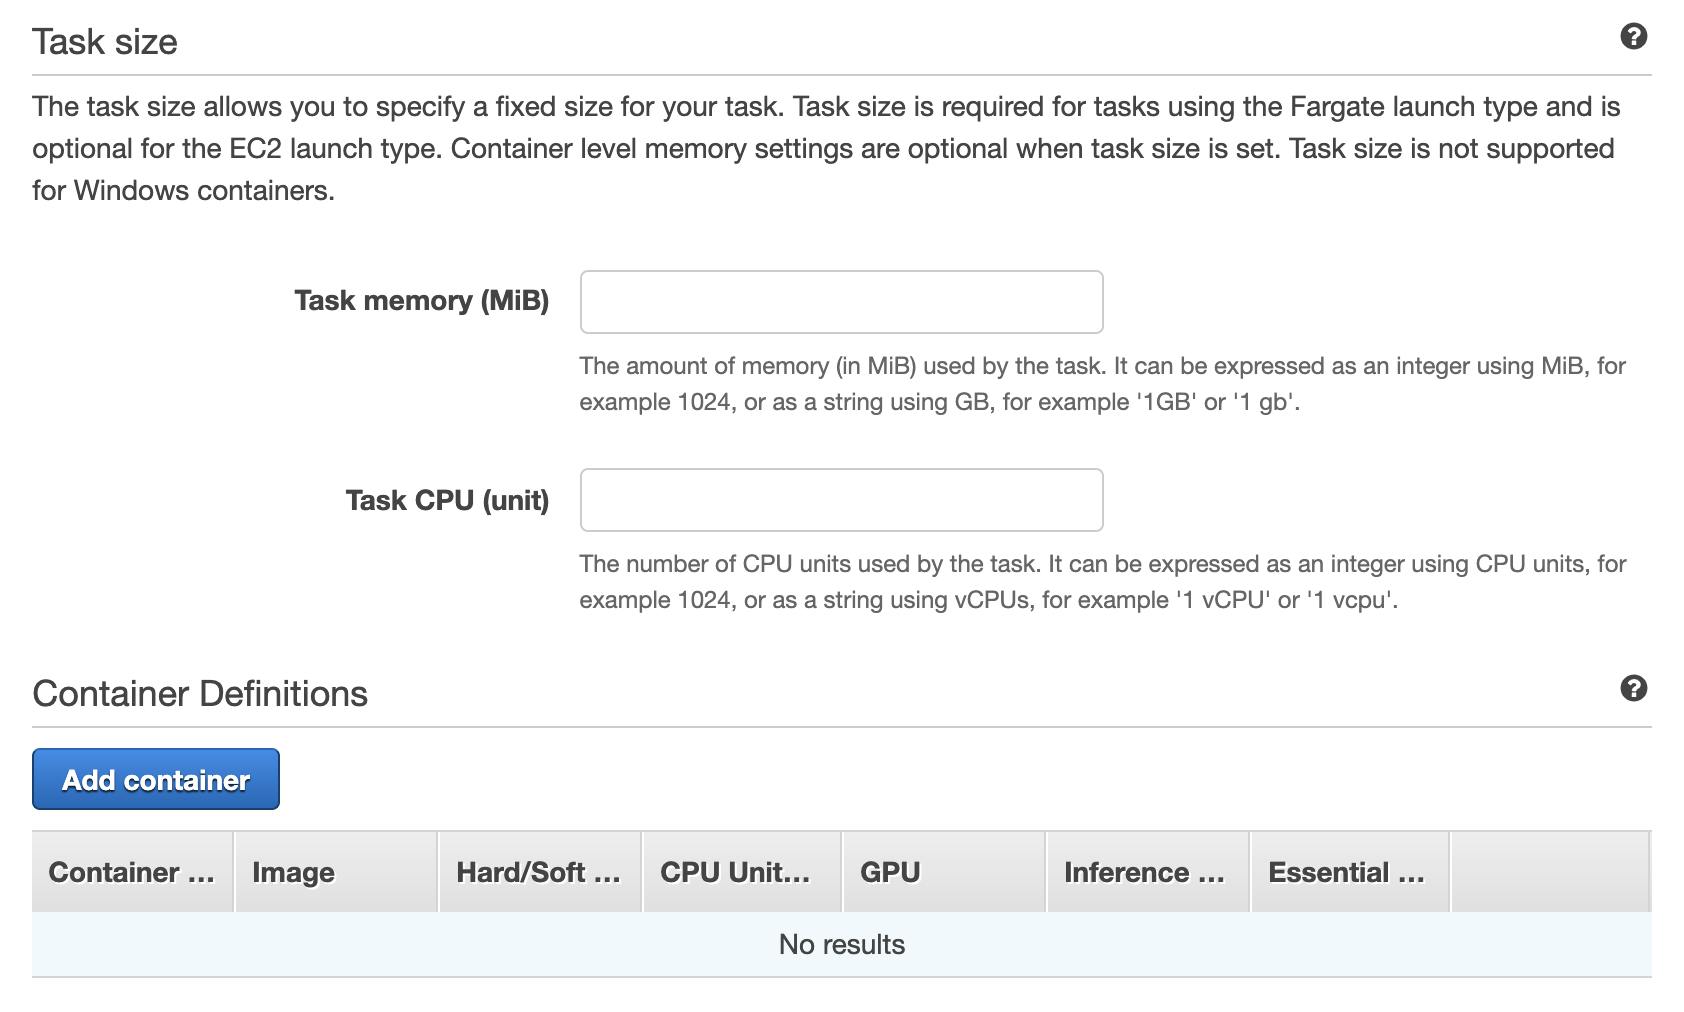
- Click Add container.
Fill
Container nameandImagesrc. Fill theMemory Limits, do not exceed the Task memory you previously selected. Fill thePort mappings, eg Strapi will use 1337 in default, you may set 80, 1337 tcp Fill theCPU units, do not exceed the Task CPU you previously selected.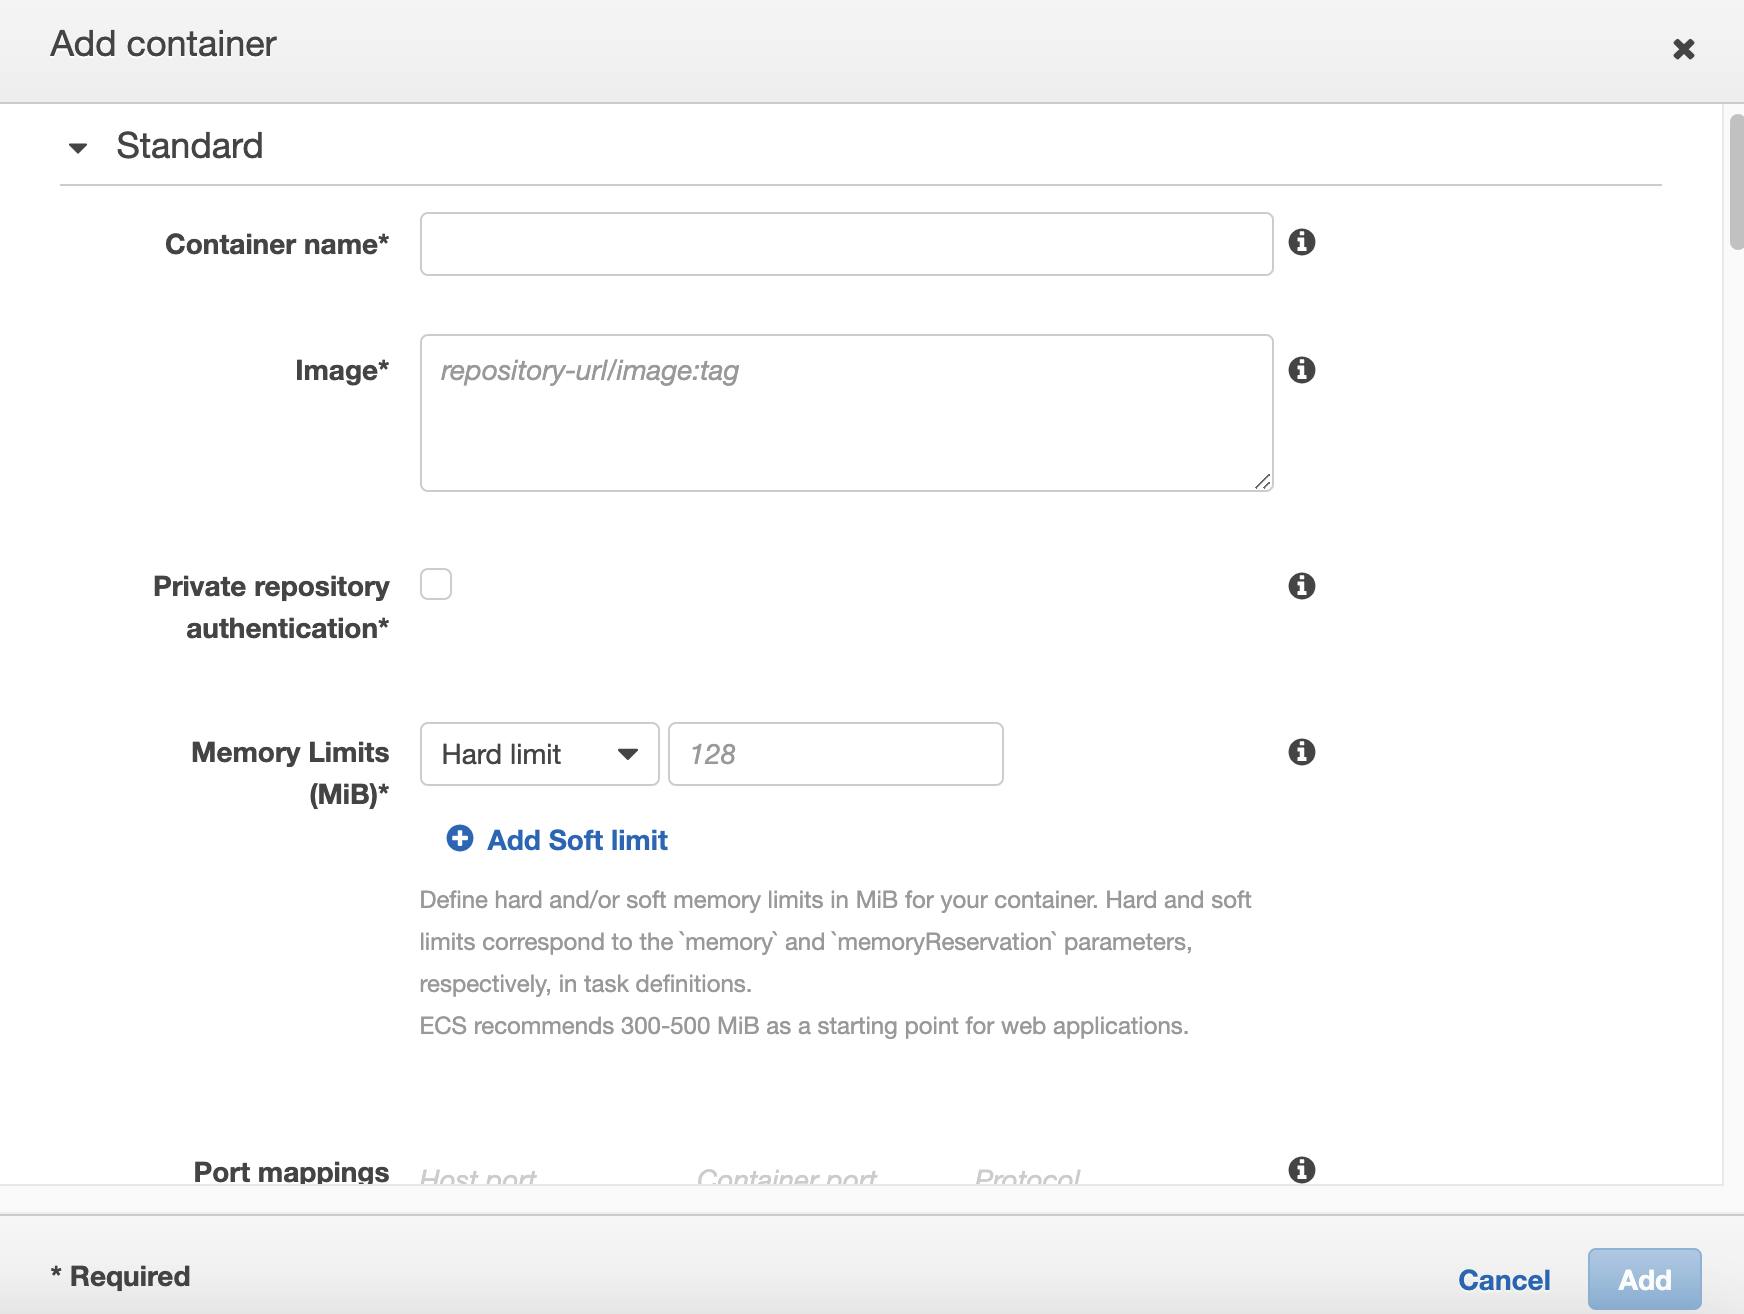
- If no warning about the resource, you may click 'Create'.
Create Service
- To launch a web service, goto the cluster main page click 'Create' under the Service tab.
- Fill the
task definitionyou created. Fill theService name. Fill thenumber of tasksis running in this service. If no specific load-balance setting, you may just proceed.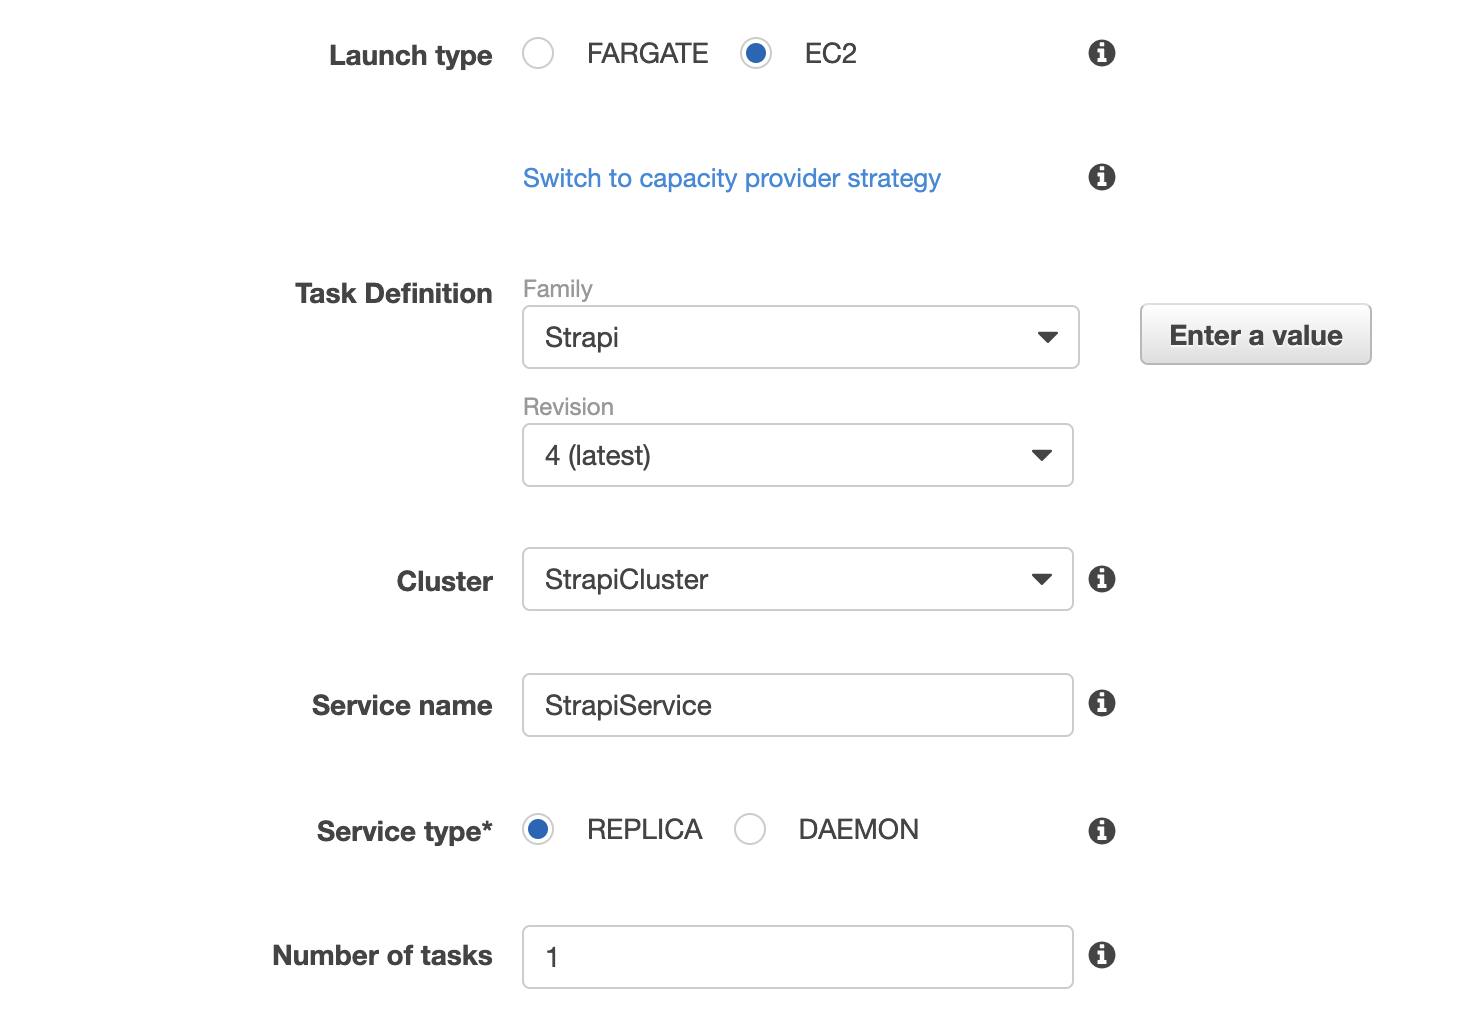
- Wait for a moment for the service and the task to launch. If there is problem regarding the task, you may check it at the 'Tasks' Tab in the cluster main page. Warning message will be shown on the top.